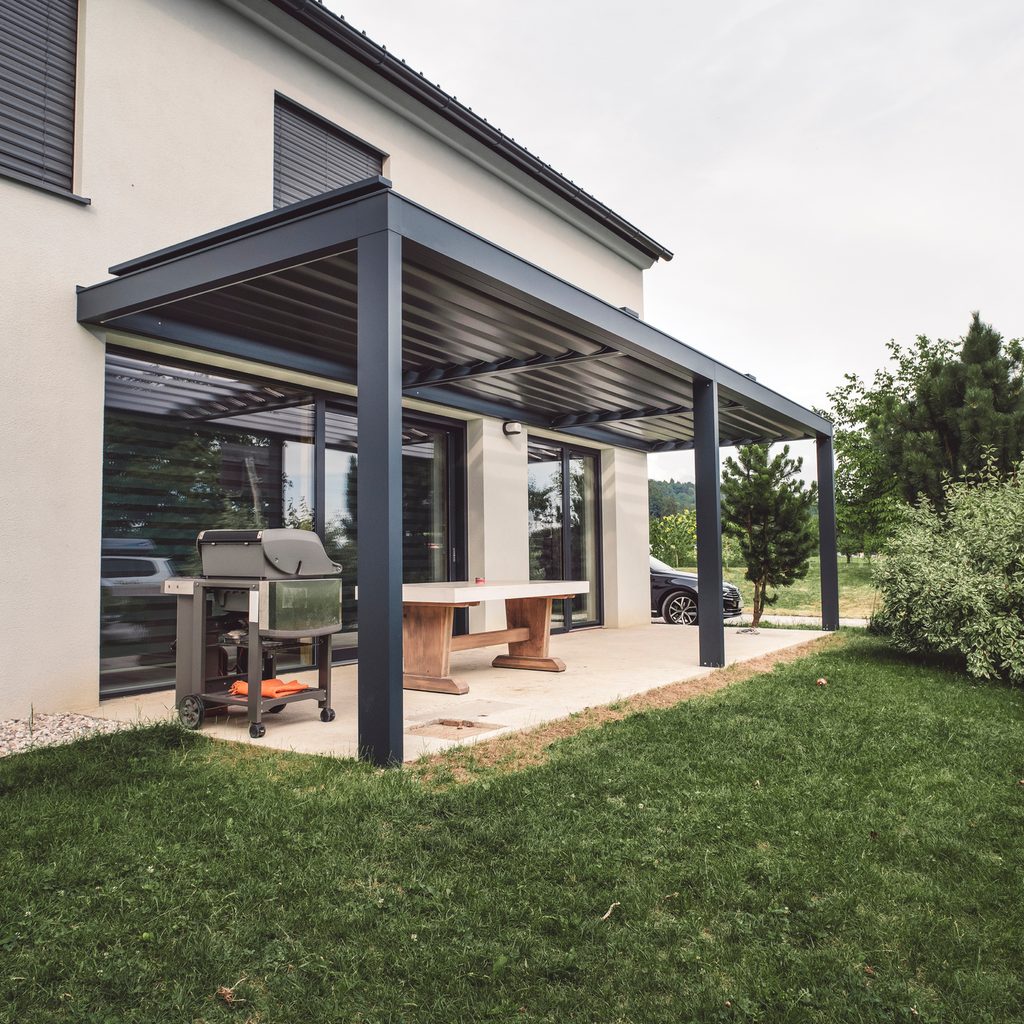
A patio can be one of the most crucial elements of a home’s outdoor living space. You can incorporate a patio area within any entryway of your home. Patios are inviting and warm while creating a comfortable space to enjoy during optimal weather.
However, weather can play a more prominent role in dictating how to use a home’s patio area. To mitigate and increase the use of a home patio, the standard options homeowners consider is attaching a roof to their porch or patio. Attaching a roof to an existing house doesn’t have to be intimidating. Let’s explore the steps of how to connect a porch roof to a house and how to tie it into an existing roof.


Acquire building permits and approvals
Before the project begins, ensure you check local building codes before starting construction. Additionally, you need to acquire all necessary building permits for construction. The local building and zoning office may require you to submit building plans for approval. Accordingly, it’s fundamental to have plans drawn up before construction begins.
When researching how to connect a porch roof to a house, consider if it’s possible to build the roof directly on the patio or porch slab. Ask your building and zoning authorities about the local regulations permitting this in your area. Assure that the concrete base of your existing patio or porch is sustainable and dense enough to support the load of the roof you plan to build.
Gather roofing materials
Connecting a porch roof to a house requires several tools and materials to complete the project. Below are the necessary tools and materials needed to help you attach a porch roof to a home:
- Nails
- Sill plate
- L-brackets
- Concrete and wood screws
- Drill
- Wood rafters
- Joist hangers
- Fascia boards
- Plywood
- Roofing shingles
- Screwdriver
- Hammer
- Lag bolts
- Utility knife
- Wooden beams
If your existing slab or patio is strong enough to hold the weight of the roof, then you’ll need to place new footings around the perimeter of the slab. While acquiring the tools and materials, you want to allocate this part of the project into your purchase and budget.
Measure and determine the frame
Determine the height of your home’s sightline clearance. Next, calculate the number of beams and rafters you’ll need. The patio roof style you choose will determine the number of beams and rafters required for your new roof. Measure the beams that’ll serve as the patio’s foundation, ensuring the accuracy of the measurement.
Build the frame and roof structure
To sustain the weight of your porch roof, you need to construct support columns. If your porch is square, connecting a porch roof to your house requires support columns at the two farthest corners of the home. Below is the step-by-step process to frame and construct the roof.
- Build a frame for the columns from the porch floor to the anticipated roof using 2-inch by 4-inch studs.
- Use L-brackets and concrete screws to secure the column frame.
- Install a sill plate between the porch’s side supports on the home. The roof support columns’ upper edges should be level with the sill plate.
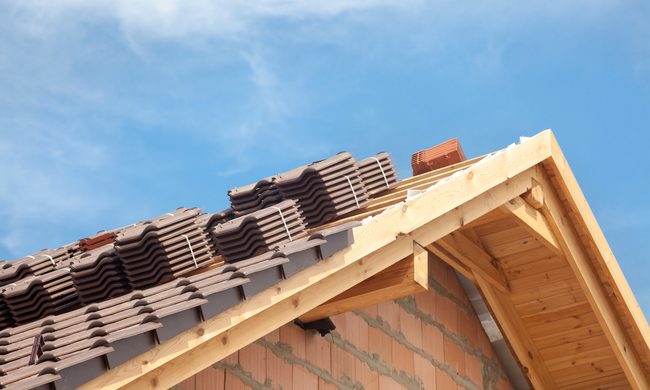
- Place the rafters directly on top of the sill plate. You should mount each rafter to the house with joist hangers.
- Secure the rafter to the sill plate using screws. The roof pitch will determine where your rafters go. Use 2-by-6-foot rafters if you want a short pitch porch roof.
- Install rafters to your porch roof until it reaches 1 foot past your porch walls or the support columns.
- Use a fascia board on the front and sides of the roof structure to help compensate for any irregularities in rafter length.
- Hold the fascia board against the rafters and hammer galvanized finish nails into place.
- Cover rafters with thin plywood panels and use a hammer to fasten the plywood into the rafters securely.
- Lay the roofing materials on the porch roof and work your way out to the porch’s edge. Make a seamless pattern on the porch roof. You may need to remove part of the shingles from the house.
Considerations when connecting a patio roof to an existing house
When you’re finalizing the roof of the patio or porch area you wish to cover, there are several considerations. One consideration is choosing the roofing material that complements your current roof and using a design that works with your existing roof.
If you’re creating a porch or patio roof with a higher peak than your present roof, assure the material you’re using can handle the pitch. Different roofing materials perform better when at a specific angle. When in doubt, confirm with the manufacturer that your roof’s pitch meets its recommendations. Once you complete your new patio or porch roof, you’ll have a covered outdoor area that you can enjoy for years to come and throughout many seasons.