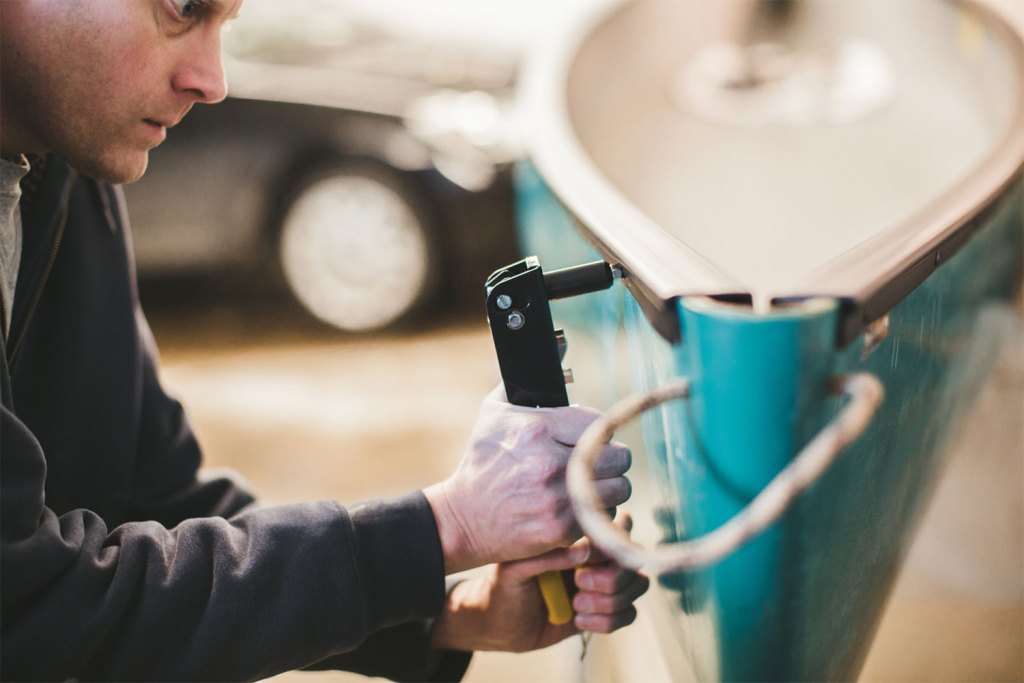
A rivet is a permanent mechanical fastener made up of a head on one end and a cylindrical stem on another, which is called the tail. The tail has the appearance of a metal pin. Typically, a rivet is used to hold two pieces of metal together, but it can be used for other things, as well. Regardless of what you use it for, once it is installed, it is nearly impossible to remove. This piece of hardware is much more permanent than a nail or screw, and it will require a little more effort to remove.
If you have the right tools and tips, though, you can be a rivet-removal expert. It will make any rivet-related mistakes easy to fix.
Tools you’ll need
Center punch. A center punch is a tool with a pointed end that is used to make an indentation in an object. It is the first tool used that allows for the drill to be able to enter the object without the risk of slipping.
Hammer. Any sized hammer will do, as long as it is big enough to drive the center punch down into the rivet.
Drill. Make sure your drill is fully charged and ready for rivet-removing.
1/8-inch drill bit. This size drill bit typically fits the center punch indentation perfectly. It is small enough to fit and large enough to keep a tight hold.

How to take out rivets
Start by inspecting the rivet head. Some rivets have heads with indentations, while others are smooth on top. If your rivet head is smooth, you will need your center punch. If your rivet already has an indentation, you can move onto the next step. Use the center punch and your hammer to drive a hole into the smooth rivet head. Place the tail of the center punch directly in the center of the rivet head and strike it with your hammer. It will create a small indentation that is the right size for your drill.
Next, use your drill and 1/8-inch drill bit. Set up your drill by installing the 1/8-inch drill bit. Find the indentation you made on the rivet head and place the drill bit within the small dimple. It should easily fit within the indentation. If you find that the 1/8 drill bit is too large, try to make a larger indentation with the center punch.
Lastly, apply pressure and begin drilling. Apply a small but firm amount of pressure on the drill and begin drilling slowly. The drill bit will begin rotating and imprint its design into the rivet head. Increase the speed of the drill gradually until your drill bit enters the rivet head. By doing so, this should remove the rivet and you can pop it out. If the drill cannot penetrate the rivet head, use your center punch again to strike the bigger indention. The hammer strike will remove the rivet.
This rivet-removal method is great for someone who has just a few rivets to eradicate. There are tools designed specifically for rivet removal, but there is no need to waste your time and money if you already have the tools listed above. This method uses tools that nearly any household has, and the process is quick and simple. Rivets can be a pain to get rid of, but once you use these tactics a couple of times, you’ll be removing them left and right. There is no need to be afraid of rivets even though they claim to be permanent. As you can see, in three easy steps, they can be as good as gone in no time.
